The 10 best cloud security certifications for IT pros in 2024
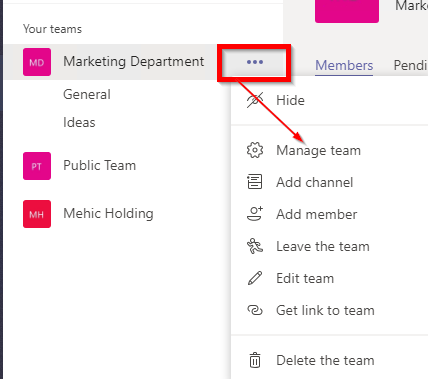
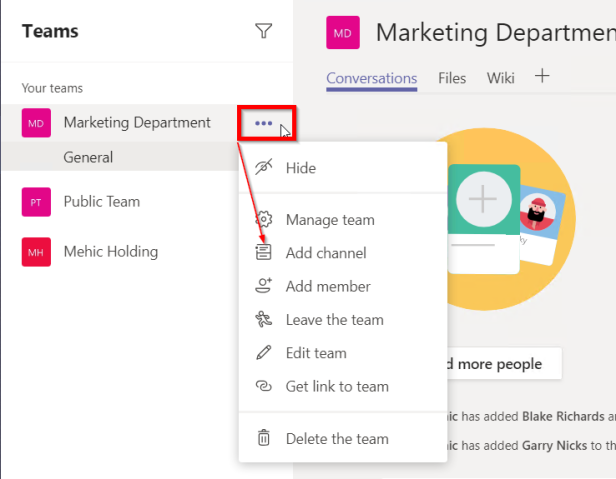
We continue our journey and in this post we will explore team settings and create and manage channels. We can access teams settings by going back to the three dot menu (…) and selecting manage team.
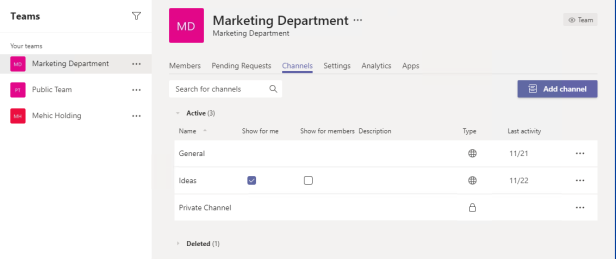
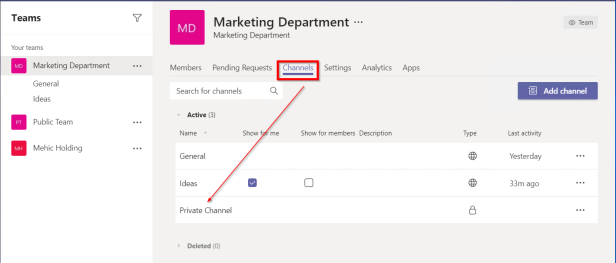
From here we can really control all of the settings for this particular team. We already discussed about Members and Pending Requests tab in previous part. Moving across our tabs the next tab that we need to cover is the Channels. We will cover channel creation later in this post but on this tab we can see all the channels, we can create new and delete channels. If you click on the Deleted, you will be able to restore any deleted channel. If you want to block users from posting messages to General channel you can do it here. Just click on the (…) under the General and you will be able to choose who can post to the General channel.
Next tab is Settings. There’s a few different things we can customize about our team.
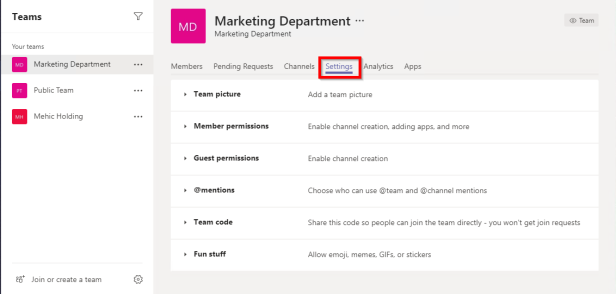
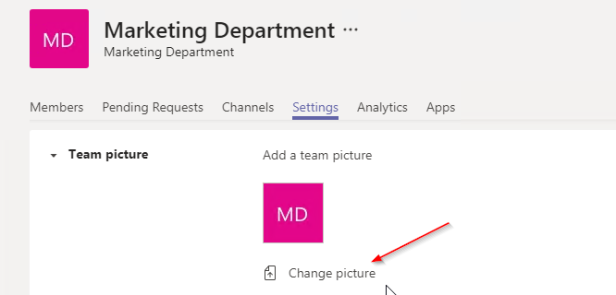
Team Picture –> By default when we don’t have a picture assigned, the team gets a two letter icon made up of the first two words in the team. In my case it is MD. If you would like to change the picture, expand the team picture and click on change picture.
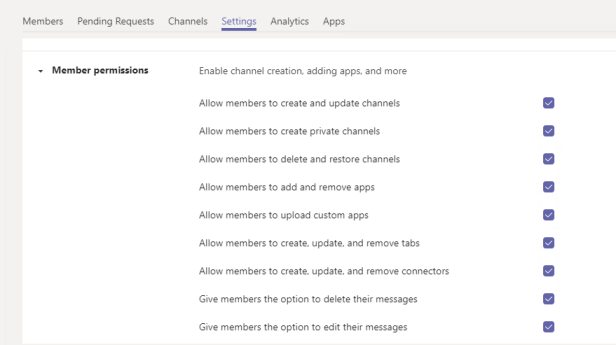
Member Permissions –> as an owner you can control what the ordinary members of the team can do. You can customize your team so that the ordinary members can’t create and update channels, delete and restore channels, add and remove apps, create update and remove tabs and so on.
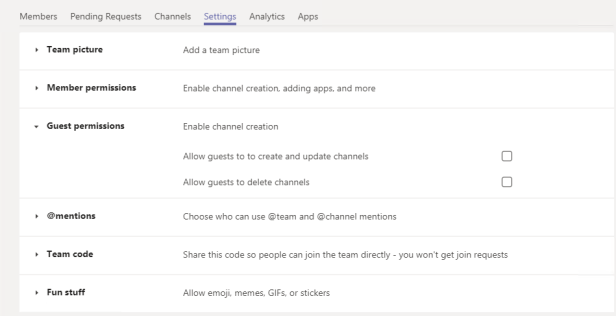
Guest Permissions –>There are only two things we can control with guests and remember guests are people who are outside your organization. By default, quests are not able to delete or create channels and these settings will stay like this in most organizations.
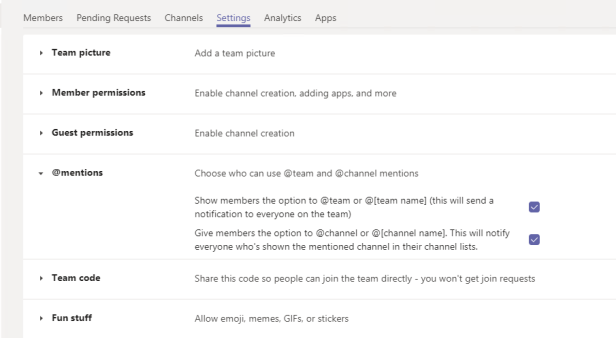
Mentions –> To get someone’s attention in a channel conversation or a chat, @mention them. Just type @ before their name and then select them from the menu that appears. They receive a notification, which they can click to go directly into the point in the conversation where they were mentioned. When using mentions, 3 options are available:
- Direct Mention -> To bring something to the attention of a specific team member, input the @ sign followed by the name of the team member in a personal or group chat or channel conversation.
- Channel mention -> Instead of the member’s name, input the name of the channel.
- Team mention–> Use the team name. For example, @Marketing. Use a team mention when you want to bring something to the attention of everyone in the team.
It is worth to mention that teams support @-less mention, which means that the clients are intelligent enough to monitor user input for names of team members. If a name is found, Teams suggests making it a mention. The only thing you’ve got to remember is to capitalize the first letter of a name as otherwise Teams regards a name as just another word.
Team Code –> Here we generate code which we send to the users that we want to access our team. Keep in mind that users will get direct access to the team without additional approval.
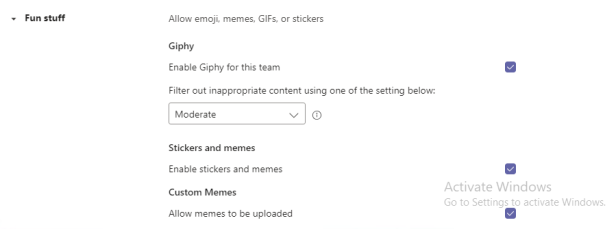
Fun Stuff –->People have the ability to include fun stuff as part of their conversation. They can include animated gifts from Giphy. They can include stickers and memes and they can customize the memes and in a lot of cases that’s the fun stuff that makes teams attractive to people. People enjoy using it because they get to interact with people in a less formal sort of way. But there may be times when you want a more formal, some would call it a more professional team so you can disable those things from here. Notice you also have a content filter for the gifts. So if you drop-down that filter where it says moderate you can see that you can choose strict or moderate which is basically filtering out some of the gifts that are being pulled in from gift.
CHANNELS
After you’ve created or joined a team you still need one more level of organization before you can start a conversation. Conversations are organized in something called a channel. Think of it this way. You’ll be talking about many different topics with your teammates, it would be kind of confusing if somebody posted a question about scheduling when you’re in the middle of a conversation about a website redesign. So within each team, you can organize different topics into channels.
By default, each team will have one channel called General. This channel is usually used to post information about the team’s goals and charter and discuss topics such as what those goals should be or how to reach them. You will also notice that in General channel teams service posts system messages like who joined the team, new owners etc. The other channels you create should be dedicated to different categories of information or topic, like projects, ideas and so on. Because of that it is very important that team owners know how they will organize the work of the team into channels. If it is necessary we can block posting in General Channel to avoid mess. Every Team can have up to 200 channels. Keep point here is to create right number of channels, while too many will probably confuse users while too few can result in channels holding wildly different topics and lead to people losing sight of important conversations.
We can follow channels that we find interesting and the notifications will be present in our activity feed. Keep in mind that this can create mess if you follow a very busy channel. Following channels like this can result in a lot of notification.
Channels are not used only for conversations. They will host tabs, apps, connectors and a lots of other stuff that we may need. We can mail enabled channel so that users can send emails directly to the channel.
NOTE! There is not support for sending emails as a channel and when you create a new channel and when you delete it, you will not be able to reuse the same name.
Private Channels
A team is composed of channels and any member can participate in the conversations and access everything in a team. A private channel is a subset of a team with its own set of settings and members. Channel members, including guests, must first be a member of the host team before they can be made a member of a private channel. If you leave the team you will lose access to all channels. Conversations in private channels are accessible only to the members. Standard channels cannot be converted to private. By default, any Team member can create a private channel and that user becomes a channel owner. Team owners cannot access the channel (if they are not members) and they cannot manage the permissions. Most organizations will probably limit creation of private channels to specific people. As an admin, you can use policies to control which users in your organization are allowed to create private channels.
CREATE NEW CHANNELS
To create a new channel click the menu button to the right of the title, and click on the add a channel.
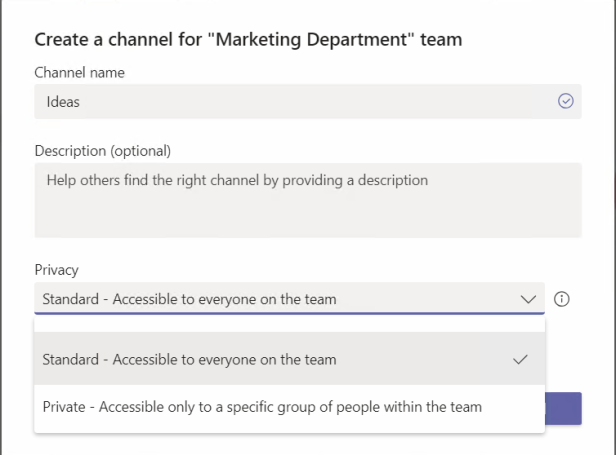
Now we need to give it a name and a description if we want and under the privacy is something that is new. We can select if we want that everybody in the team access this channel or we can block access so that only specific people access it. For now I will select Standard. Once done, click on ADD
And now we can see those two channels inside of this team.

Creating Private Channels
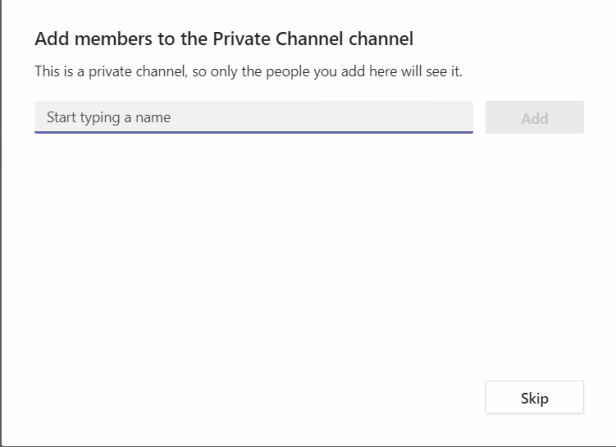
Use the same steps (above) and change Privacy to Private. When you do that, additional windows will popup giving you the option to add members. You don’t need to do this now if you want to leave it for later.
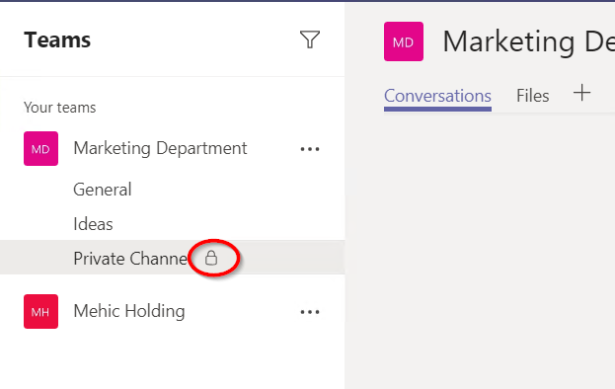
Private channels are shown in clients by the presence of a lock against the channel name in the teams
When I login as an Team owner (I created private channel as a regular user) I will not be able to see it in the list but I will be able to see it in the settings. Team owners can see the names of all private channels in their team and can also delete any private channel in the team. They can’t see the files in a private channel or the conversations and member list of a private channel unless they are members of that private channel.
WORKING WITH CHANNEL SETTINGS
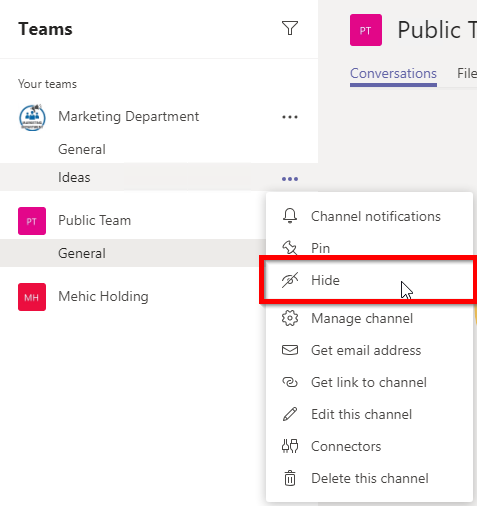
Notice that when you mouse over the channel that it has a three dot menu. By clicking on it, you will access channel settings menu.
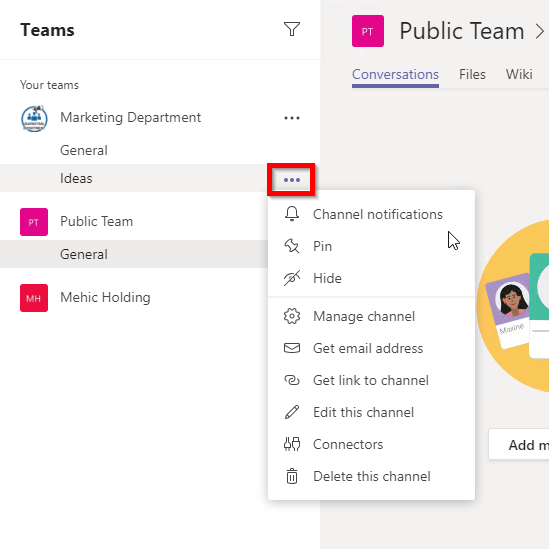
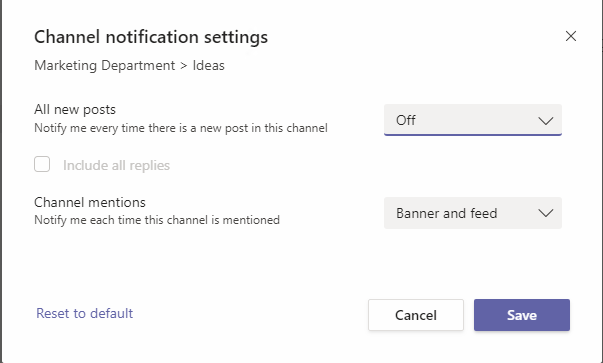
First in the list is Channel Notifications –> From here, you can choose what activity you get notifications for, and where they show up. By default, notifications are turned off and mentions are configured to receive info both in Banner and feed.
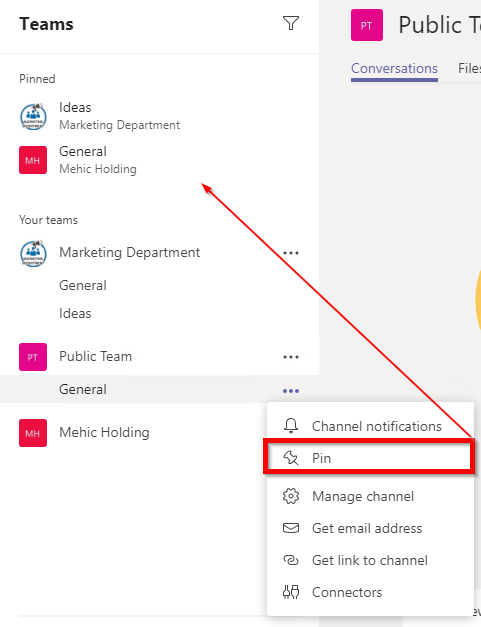
PIN CHANNEL –> Some channels are more important than others. In fact, some channels hold information that might be critical to the work someone does. Pinned channels will be at the top and and if the channel name is bold you will know that it has some new content. You can change the order as well. Just drag and drop pinned channels within the list to create your preferred order.
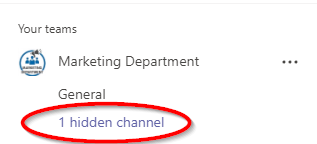
HIDE CHANNELS –> If you don’t want a team or channel to show in your teams list, you can hide it. On this way we can clean up our list and focus on the teams and channels we’re active in. Hidden channels are grouped together at the bottom of their respective team. (On the same way we can hide the Team)
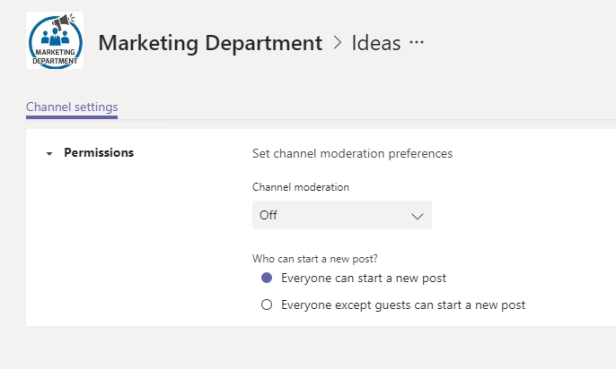
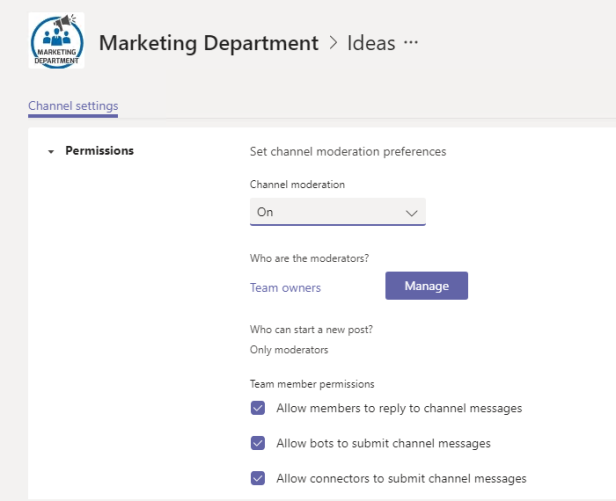
MANAGE CHANNEL –> Under this we can configure channel moderation and who can post to the channel. You might want to reserve a channel for specific posts such as group announcements. The General channel has a setting to limit new posts to group owners. Moderation serves much the same purpose for non-general channels by allowing you to limit new posts to a defined set of moderators. Moderation is supported for both public and private teams.
After enabling moderation for a channel, the next step is to decide who the moderators should be. By default, all team owners are moderators, but you can select a different set of owners and members to act as moderators.
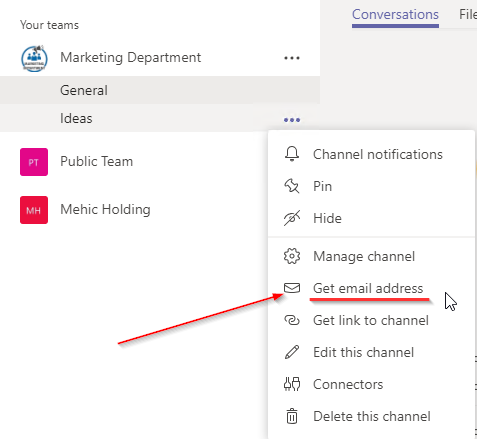
GET EMAIL ADDRESS -> With this option we can send an email to a team channel and team members will not only be able to see the email conversation but they will even receive attachments. Click on the (…) and select Get email address
You will get a special email address that’s just for this channel. Copy the email address
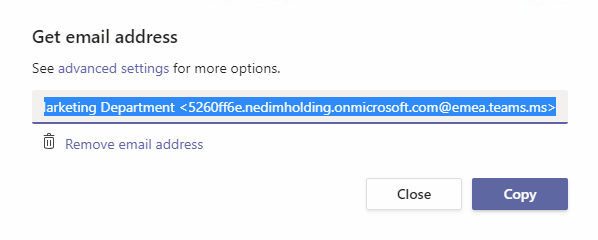
Open your outlook and send / forward an email using that mail address


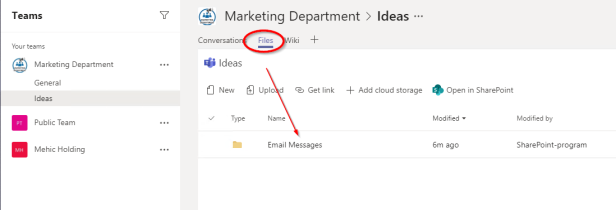
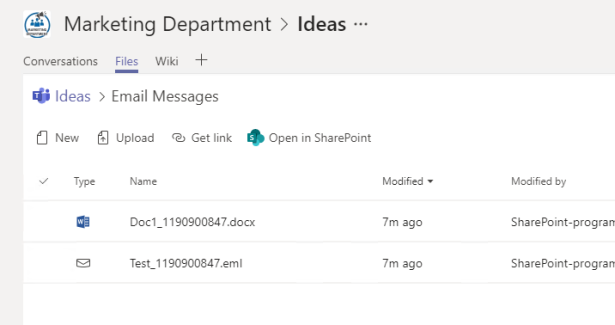
We’re gonna cover files and another sections in later post but if you click on files at the top you’ll notice that teams were smart enough to also pull that file out and put it in a special place called email messages.
GET LINK TO CHANNEL –> Let’s say that you’ve got a team member who doesn’t come into the team’s app very much and you really need him to take a look at a conversation that’s happening or you really need to get his input on a file or something like that. With this option we can send that person a link to the channel. When he use this link he will get direct access to the channel.
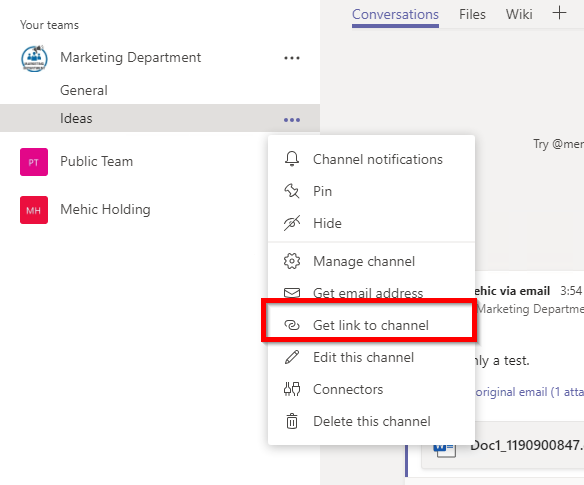
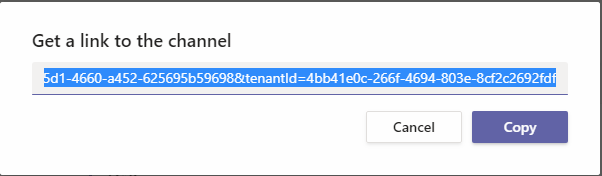
This is gonna give us a hyperlink that we can email to that person and when he click on the link it’s going to open his team’s app and take him straight into this channel.
Last 2 options are Connectors and option to delete a channel. We will cover connectors in a future post. Next post will cover conversations and notifications.
Stay Tuned!
Cheers,
Nedim