The 10 best cloud security certifications for IT pros in 2024
Microsoft Stream is an enterprise video service that allows you to create and share videos securely within your organization. You can use Stream to collaborate with videos using the apps that you already know how to use, like SharePoint and browser. Microsoft Stream includes Enterprise search with built-in smart search tools and intelligent searching. That makes it easy not just to create and upload content but to be able to find the content you need when you need it. If you’ve thought about uploading your videos to another video service outside of your firewall but been worried about security, Microsoft Stream takes care of that. Microsoft Stream, like all of the Office 365 products, is fully secured with Enterprise-grade security. Your users have access to videos because they’ve logged in, and permission levels can be set on specific video so that some users can edit but some users can only view. With Microsoft Stream, you get to easily choose who you want to share with, from a few members of your team to your entire organization. With Microsoft Stream, everyone in your organization can collaborate and reap the benefits of collaboration with video, and every video is secure.
LICENSE REQUIREMENT
Anyone who uses Stream must have a license. Microsoft Stream capabilities vary based on the Office 365 subscription you have in your tenant. For example Office 365 E1, E3 and E5 will give you access to all features. Full license and feature overview can be found here Stream License and Features.
If you want to test the product Microsoft is offering 90-day trial includes all the capabilities included in Stream Plan 2, except live event creation. Users will be able to upload videos during the first 3 months of the trial, after that, the upload feature will be restricted but viewing and other features will remain active for a limited time. At the end of the 90-day trial, you will be presented with an option to either upgrade to a paid subscription to continue using Microsoft Steam or request that your uploaded videos be deleted. When the trial expires, users who have access to Microsoft Stream through Office 365 can still access Stream. However, those users will lose access to any features that are exclusive to Plan 2.
STORAGE
Every Stream tenant receives a fixed allocation of 500 GB of storage and an additional 0.5 GB of storage per licensed user. Additional storage can be purchased if needed in chunks of one or more 500 GB storage add-ons.
ACCESS MICROSOFT STREAM
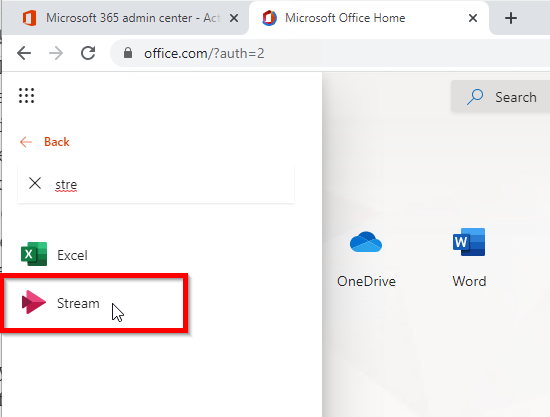
Open the Office 365 App launcher, select All apps,

and then select (or search) Stream, or go to stream.microsoft.com and sign in with your username and password.
We will land on Microsoft Stream home page.
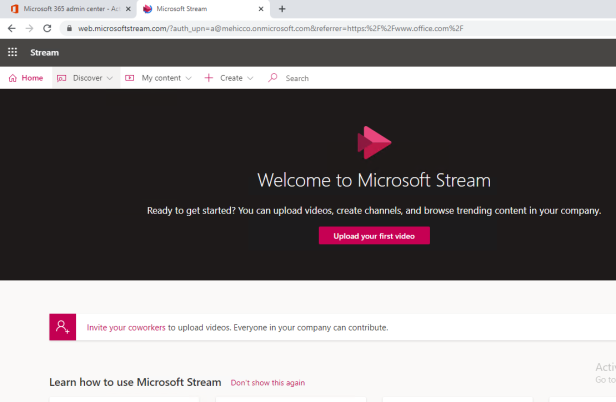
The navigation bar at the top has 3 different sections (Discover, My Content and Create) which makes it easy for you to browse videos, channel or groups, create new content or easily search for content. Below Stream label, we have Home. That’s a link that will always bring us back to the home page.
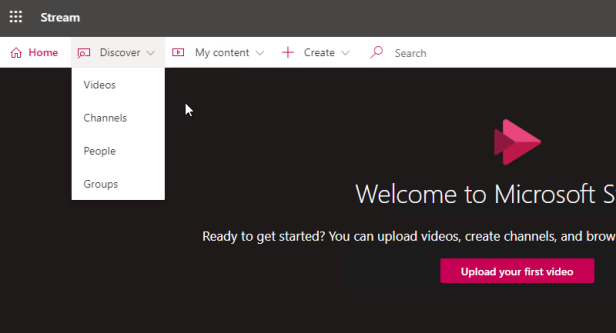
Discover Section –> will give us option to browse the Videos we have, Channels, and to browse People so I can search for someone who uploaded a video or is in a video. Last are Groups and those are groups that we participate in. By default my Office 365 groups are available to me here in Microsoft Stream so every group that you are member of will be here.
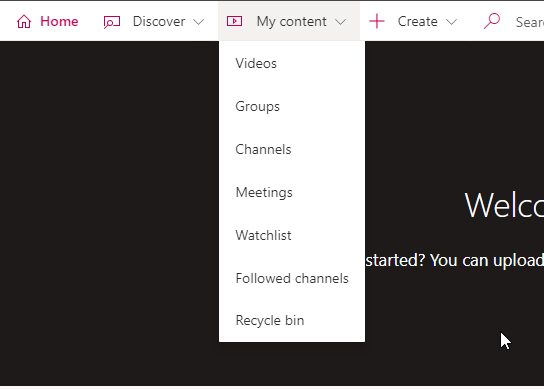
My Content Section –> Next to the Discover button we have a drop down menu that allows you to access your content. Your VIDEOS, CHANNELS, GROUPS, WATCHLIST (A watchlist is a convenient way to bookmark videos that you want to come back to), MEETINGS (When you record a meeting in Microsoft Teams, the recording is sent to Microsoft Stream) and FOLLOWED CHANNELS (Channels are a great way to organize content. To stay in touch with new videos added to a channel or to bookmark it you can easily follow a channel) here we can see all our followed channels.
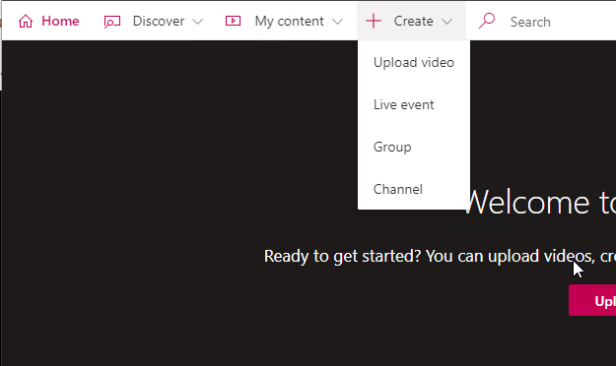
Create Section –> next to My Content is the create section which give us option to Upload video, create events and so on.
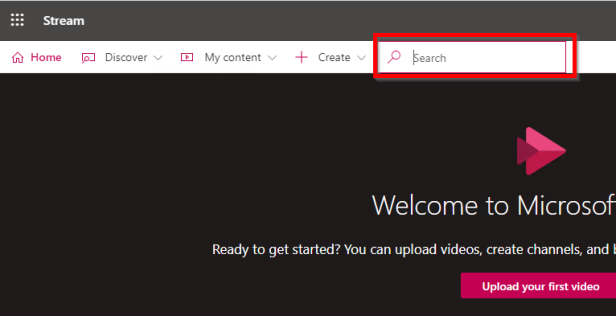
Search Box –> Search is searching through all of Microsoft Stream all of the content that I have permission to see. As with other Microsoft products, if I don’t have permission to see a video, it won’t show up in my search results.
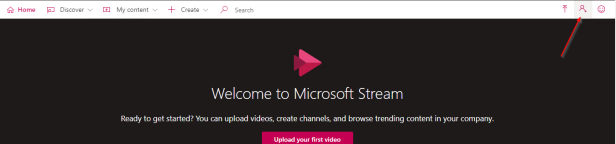
On the far right side I have a invite button which allows me to invite others. Keep in mind that Stream can’t currently share to external users. If you would like to share video externally, you will need to store the video in another location for example, SharePoint Online or OneDrive for Business that enables external sharing, and then share the video to the external users.
STREAM GROUPS AND CHANNELS
In Microsoft Stream we use groups and channels to determine how our videos are organized, how they’re distributed, and who has access to them.
GROUPS –> Groups are used to organize videos and to control access to videos, in the same way that groups are used in Office 365 to organize documents and control who has access to those documents. Groups in Microsoft Stream are the same as groups in Office 365. So if you have Office 365 and already have existing groups for your project teams, for your departments, for ad hoc efforts, those same groups will be available to you in Microsoft Stream, and if you don’t have Office 365, the groups that you create in Stream can later be used if you move to Office 365.
Group types:
- Public (Org-Wide) -> Open membership. Anyone in your company can join without being added by a group owner and everyone in the organization will be able to see the videos and channels within these groups.
- Private -> Limited membership. An owner of the group will have to add or approve members who want to join the group. Only group members will be able to see videos and channels within the group.
CHANNELS –> Channels are used to distribute videos to be able to share videos with the entire organization or specific sections of the organization. Channels are also used to organize videos. Channels are an organization method for videos, but not a permission method. Channels don’t have any permissions on their own. When you create a channel, you decide whether it’s a company-wide channel that anyone in your organization can add and remove videos from, or if it’s a group channel where you can limit contributors.
Channel Types:
- Company-Wide Channel – can be viewed by everyone. Everyone can add or remove videos to those company-wide channels. If I create a group channel, then that group channel will be tied to a specific group, and the permission settings for the channel will be inherited from the group.
- Group Channel – This is like a private group. Only contributors to a group will be able to create channels, add/remove videos and edit settings about the channel.
One of the great things is that a stream channel can be added as a tab in Teams and videos from the channel can be played back in Teams.
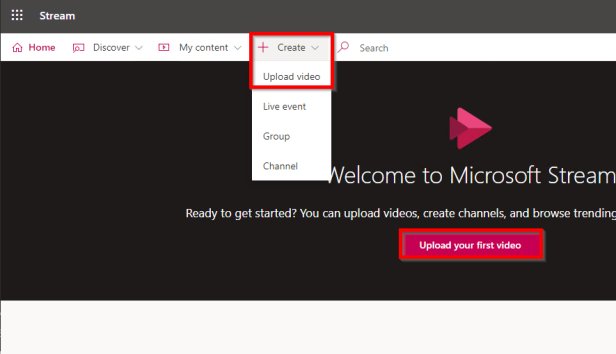
After a short introduction let’s upload our first video. I will upload video about my favorite car. To upload a new video you can click on Create –> Upload video or click Upload your first video link on the homepage.
When you click on Upload your first video, file explorer will pop-up and you will be able to find and select the video that you would like to upload. You will notice that the video upload will start immediately. At the top, there’s a spot for a name. This is the filename and you can change it if you would like. Below that, I can choose a language, if the language happens to be for example English, I can also have closed captioning automatically generated.
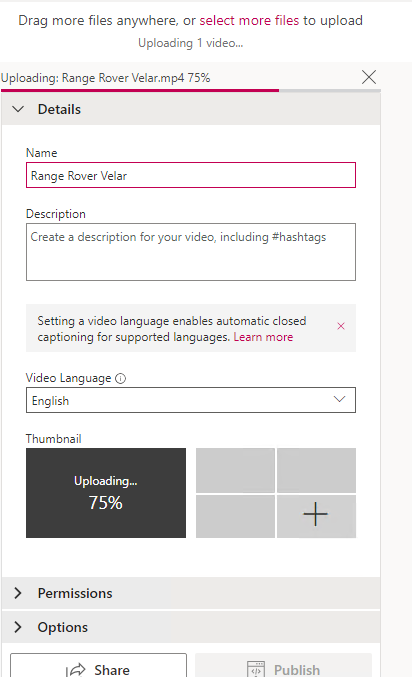
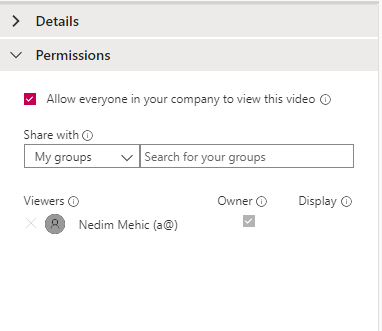
While we are waiting for the video to be uploaded we can click on the permissions section. I have 2 option here. Would I like this to be company-wide, that’s the default, or do I want to share this video only with specific groups, that’s my first choice. I’ll also be able to put this in a channel, and some other options we’ll look at later, but right now, the default is, allow everyone to see, and whoever uploads is the owner, and that works fine for this particular video.
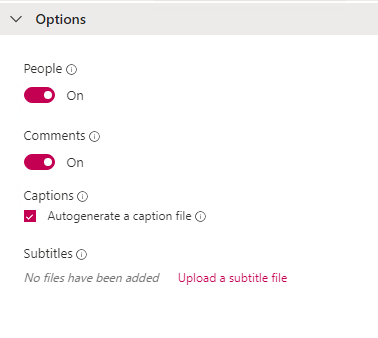
I’m then going to click Options, and people detection is turned on. Comments are turned on, and a captioning file is automatically being generated. Now, if I have a captioning file already, and I intend to upload that, I would turn this off. If I have a subtitle file, I could upload that at this time. We’ll be looking at all of these options later.
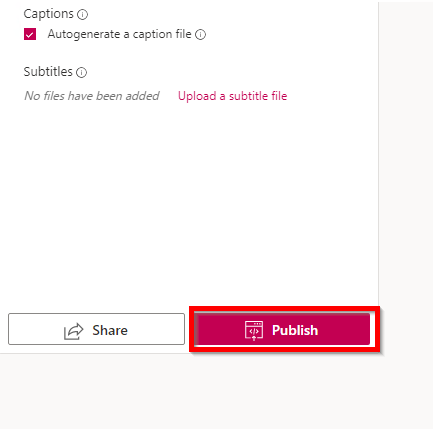
At the bottom, Publish is enabled. I can publish this right away and all of my metadata has already been saved. I’m going to click Publish.
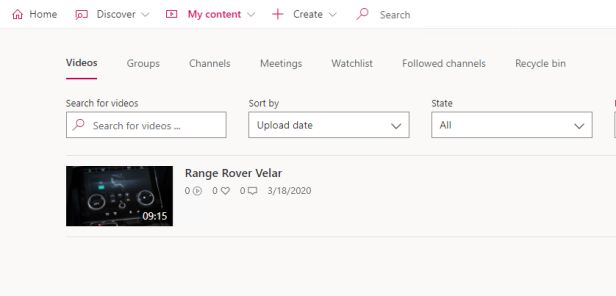
My video is published, and I’m going to go to My Videos. Now if you have a longer video and it takes longer to upload, then you would be waiting to be able to publish it, and rather than hang out here in Microsoft Stream and stare at the screen waiting for the upload to finish, you can go on and do other work, Stream will automatically send you notice when the video has been uploaded completely. Click on My content –> Videos and here it is.
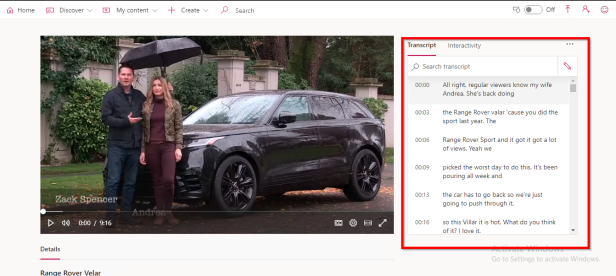
Let’s click on the video and explore the settings. On the right-hand side, we have a transcript. The transcript, also known as closed captioning, is something that we can automatically create when we upload videos and depending on which Microsoft Stream plan your company uses, you may also be able to search this transcript. What’s called doing a deep search of a video. So instead of just searching for a title and a description, I can actually search for specific words in the transcript.
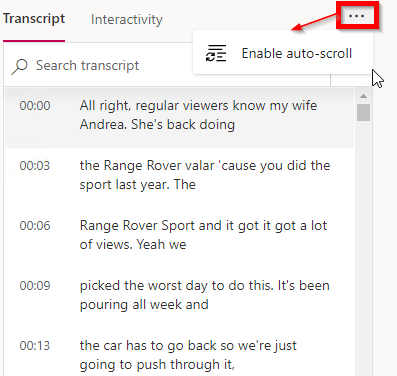
Auto-scroll can be enabled here so as this video plays, the transcript will automatically move down the page.
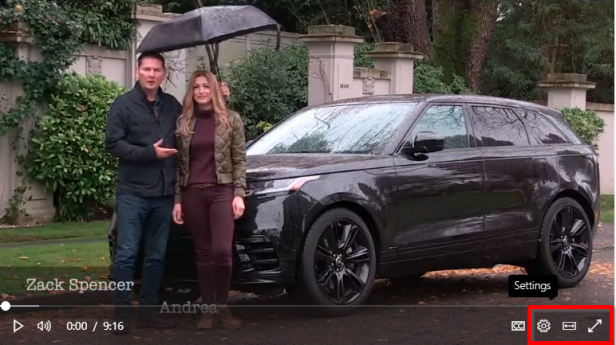
On the right-hand side, I can turn on closed caption button, and when I do that the information in the transcript will be displayed as captions here in the window.

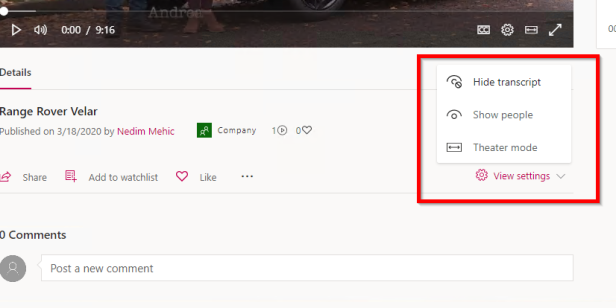
Last 3 options are Settings where we can decide how the video itself is playing for example playback speed. We have Theater mode and the full screen buttons.
If we scroll-down, we can find information about the name of this video, description if we have one. Information on when this video was published and by who. We have information about visibility, if it is company wide or private and info about views and likes.
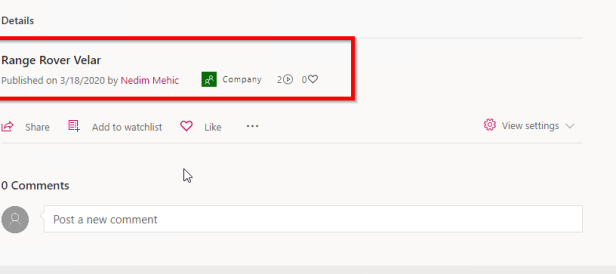
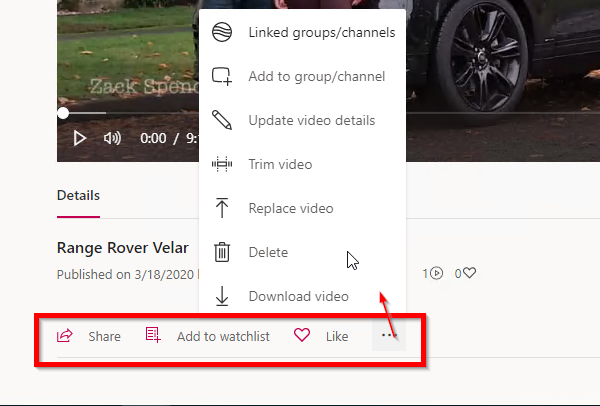
Below that, I have a small toolbar with a share button, a button that allows me to place or remove a video on a watchlist, so I can remove this or add it. The ability to like or stop liking a video. 3 dots (…) will give me ability to add this video to a group or channel, delete it and so on.
Last but not least is the View Settings part. Here we can hide transcript, show people (we will explore this in another post) and we can enter theater mode.
That’s it. There is my video uploaded to Microsoft Stream, and I can now share this with anyone I wish, and it is publicly available to anyone in our company. In the next part we will discuss about organizing, sharing and managing content, groups and channel creations and much more.
Stay Tuned.
Cheers,
Nedim